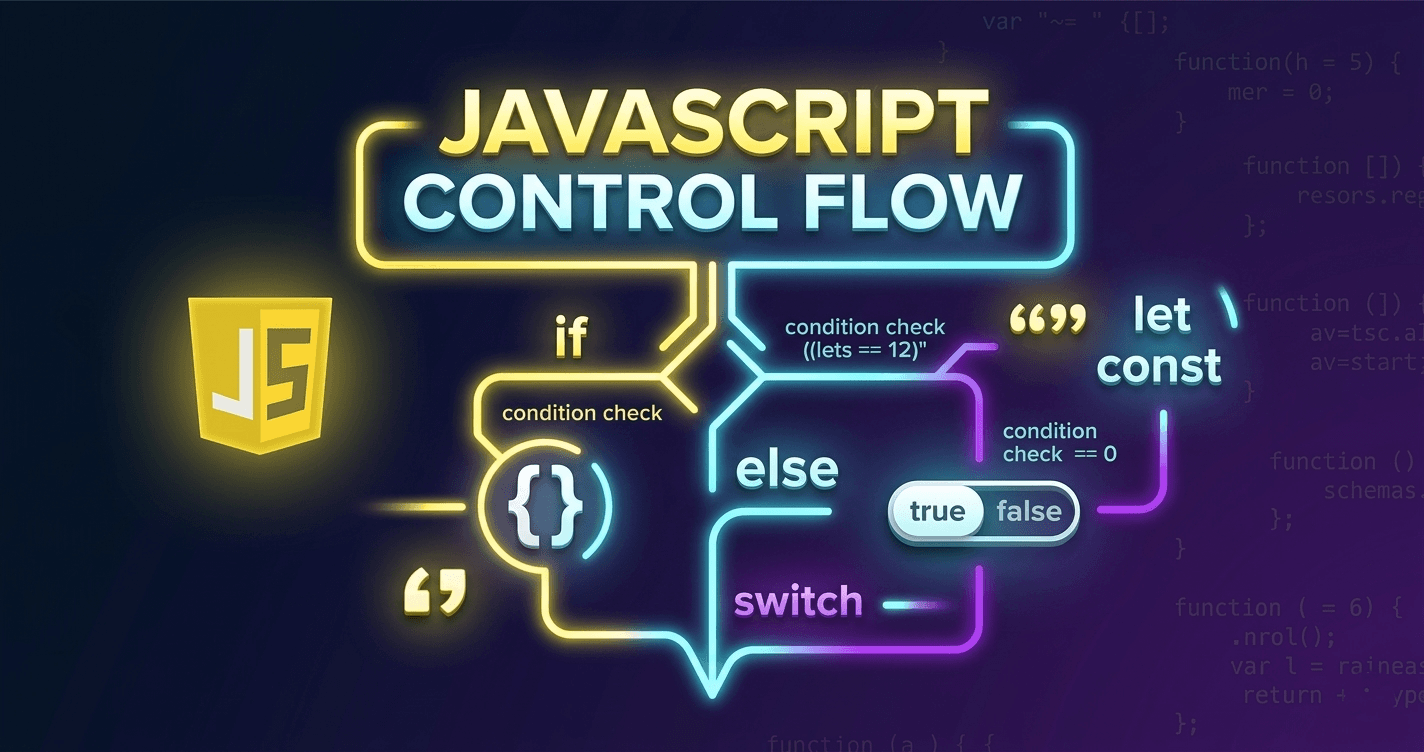
Control Flow in JavaScript: If, Else, and Switch Explained
Master JavaScript decision-making with practical examples of if/else statements, the ternary operator, and switch cases
📚 Welcome to the JavaScript Decoded Series! This is Part 2 of my complete beginner's guide to JavaScript. If you missed the first installment, be sure to read Understanding Variables and Data Types before continuing!
If JavaScript is the brain of your website, control flow is how it makes decisions. Just like you decide what to wear based on the weather, your code needs to execute different instructions based on different conditions.
In this beginner-friendly guide, you'll learn:
✅ What control flow is and why it's essential
✅ How to use
if,else, andelse ifstatements✅ A handy shortcut: The Ternary Operator
✅ How and when to use the
switchstatement✅ Common beginner mistakes to avoid
Let's dive in! 🚀
What is Control Flow?
By default, JavaScript reads your code from top to bottom, line by line. Control flow allows you to break this top-to-bottom rule. It lets your code skip lines, repeat lines, or choose between different blocks of code based on specific conditions (which evaluate to true or false)
The most common way to control the flow of your JavaScript program is through conditional statements
The if Statement
The if statement is the simplest form of control flow. It evaluates a condition in parentheses (). If the condition is true, the code inside the curly braces {} runs. If it's false, the code is completely ignored
Syntax:
if (condition) {
  // Code runs if condition is true
}
Example:
let temperature = 30;

if (temperature > 25) {
  console.log("It's a hot day!");
}
// Output: It's a hot day!
The if...else Statement
What if you want to do one thing if the condition is true, and something else if it's false? That's where else comes in
Example:
let isLoggedIn = false;

if (isLoggedIn) {
  console.log("Welcome back, User!");
} else {
  console.log("Please log in to continue");
}
// Output: Please log in to continue
You don't need a condition for else—it automatically catches whatever the if missed
The else if Statement
When you have more than two possible outcomes, you can chain multiple conditions together using else if
Example:
let time = 14; // 2 PM in 24-hour format

if (time < 12) {
  console.log("Good morning!");
} else if (time < 18) {
  console.log("Good afternoon!");
} else {
  console.log("Good evening!");
}
// Output: Good afternoon!
💡 Pro Tip: JavaScript evaluates conditions from top to bottom. As soon as it finds a
truecondition, it runs that block and skips the rest
The Ternary Operator (? :) — The if...else Shortcut
If you have a simple if...else statement, you can shorten it into a single line using the ternary operator. It's the only JavaScript operator that takes three operands
Syntax:
condition ? expressionIfTrue : expressionIfFalse;
Example:
let age = 20;

// The long way
if (age >= 18) {
  let status = "Adult";
} else {
  let status = "Minor";
}

// The Ternary way (much cleaner!)
let status = age >= 18 ? "Adult" : "Minor";

console.log(status); // Output: Adult
⚠️ Use with caution: While ternary operators look cool, nesting them (putting one inside another) makes your code very hard to read. Stick to simple true/false checks!
The switch Statement
When you need to perform many else if checks on the exact same variable, a switch statement is often cleaner and more efficient
The switch statement evaluates an expression and matches its value to a case clause
Example:
let dayOfWeek = "Wednesday";

switch (dayOfWeek) {
  case "Monday":
    console.log("Start of the work week");
    break;
  case "Wednesday":
    console.log("Hump day! Halfway there");
    break;
  case "Friday":
    console.log("TGIF!");
    break;
  case "Saturday":
  case "Sunday":
    console.log("It's the weekend!");
    break; // Notice how we stacked cases above
  default:
    console.log("Just a regular day");
}
// Output: Hump day! Halfway there
Why do we need break?
If you forget the break keyword, JavaScript will continue executing the code in the following cases, even if they don't match! This is called "fall-through"
The default Case
The default keyword acts like the else in an if...else chain. It runs if absolutely none of the case values match
if...else vs switch: Which should you use?
| Scenario | Use if...else |
Use switch |
|---|---|---|
| Conditions | Complex conditions (e.g., >, <, &&, ` |
|
| Readability | Messy with 5+ conditions | Super clean for many specific values |
| Evaluation | Can check different variables in each step | Compares one expression strictly (===) |
Common Beginner Mistakes to Avoid ❌
1. Using = instead of === in Conditions
A single = is for assignment (giving a variable a value). You need === (strict equality) or == (loose equality) for comparison
let score = 100;

// ❌ BAD: This assigns 100 to score, returning true!
if (score = 100) { ... }

// ✅ GOOD: This checks if score is exactly 100
if (score === 100) { ... }
2. Forgetting the break in a switch
As mentioned, leaving out the break causes unintentional fall-through behavior, which can introduce annoying bugs
3. Creating Unreachable Code
Make sure your most specific conditions are at the top of your if...else if chain
let marks = 85;

// ❌ The second block is unreachable!
if (marks > 50) {
  console.log("Pass");
} else if (marks > 80) {
  console.log("Distinction");
}
Summary Cheat Sheet 📝
if: Runs code only if a condition is trueelse: The fallback code if the condition is falseelse if: For checking multiple distinct conditionsTernary (
? :): A clean, one-line shortcut for simpleif...elsechecksswitch: Best for checking a single variable against many specific, discrete values
What's Next?
Now that your JavaScript code can make decisions, the next logical step is to make it repeat tasks automatically. Up next, you should look into:
Loops —
for,while, anddo...whileloopsFunctions — Organizing your logic into reusable blocks
Arrays & Objects — Storing complex data
Happy coding! 🎉